.png)
How to Integrate Group Leads With Aweber
This guide walks you through connecting your AWeber account to Group Leads so you can automatically collect and tag email subscribers from your Facebook Group.
Step 1: Create a New List in AWeber
Log into your AWeber dashboard. In the top navigation, click Lists, then select "Create New List".
Follow the on-screen prompts to set up your list — give it a name, list name, list description, and a reply-to email address.

Step 2: Copy Your Unique List ID
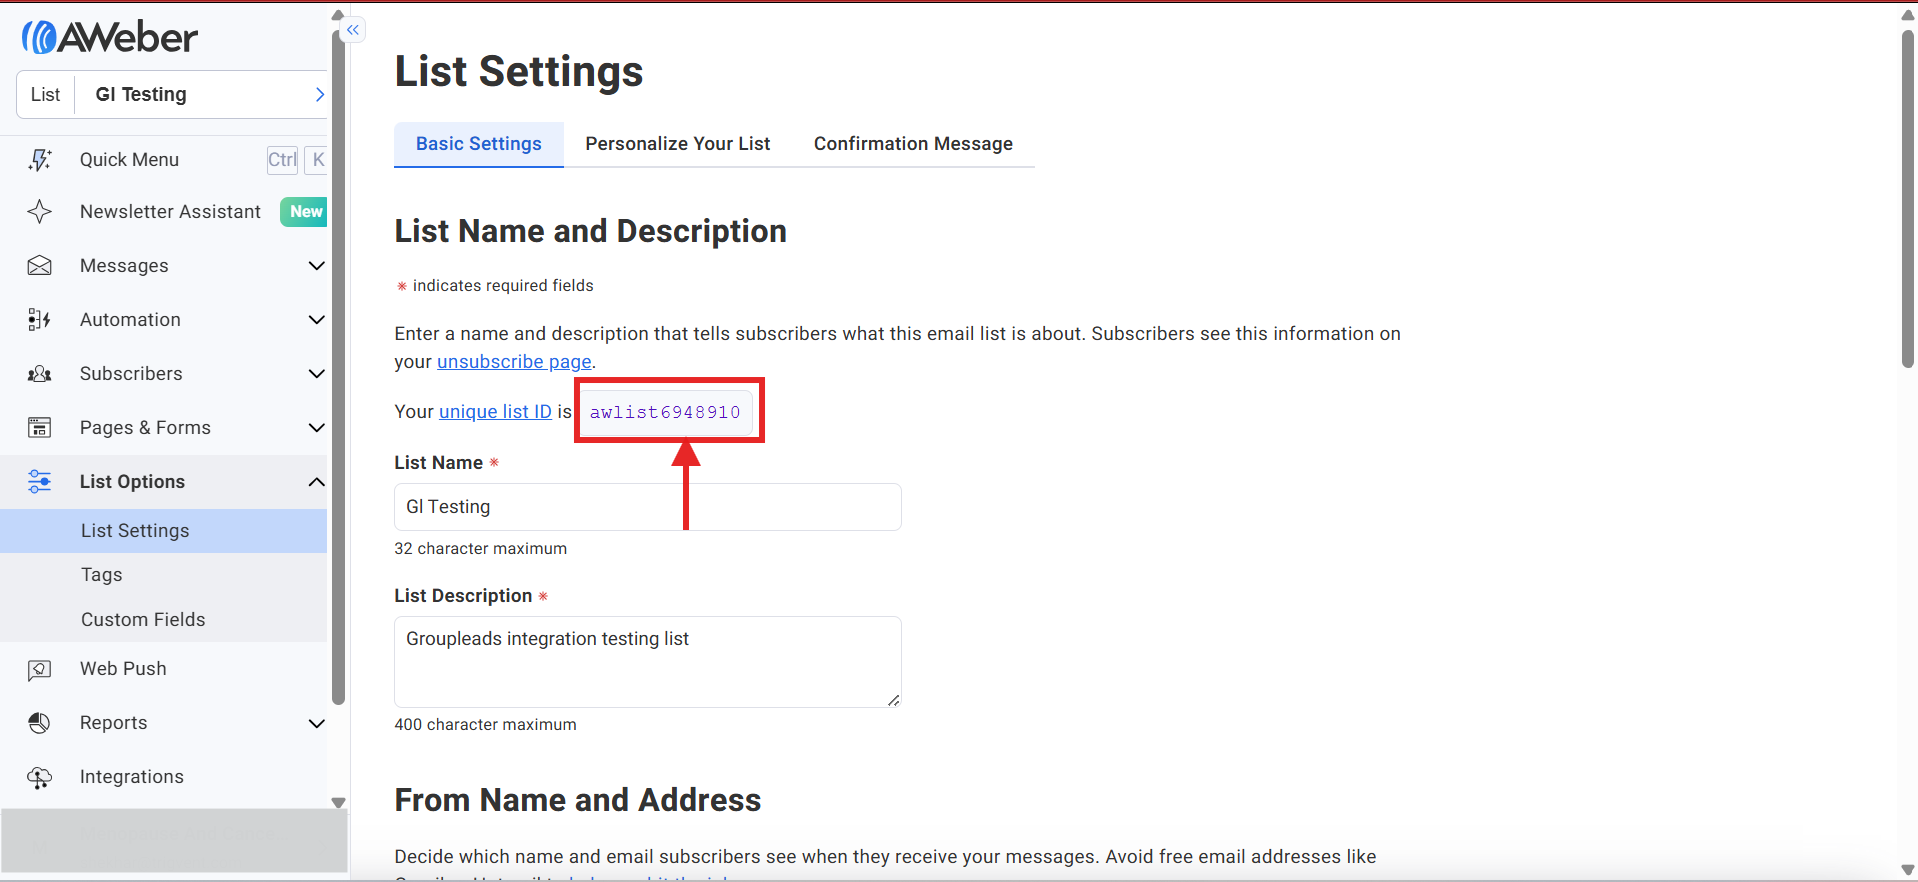
Once your list is created, go back to your Lists page and click on the list's List Settings option.
Inside List Settings, you'll find your Unique List ID — it looks something like awlist6948910. The ID is the number that appears after awlist.
Copy this ID and paste it into a note-taking app (e.g., Notepad on Windows or TextEdit on Mac) so you have it handy for the next step.
Example: If your List ID field shows awlist6948910, your Unique List ID is 6948910.
Step 3: Open the Group Leads Extension
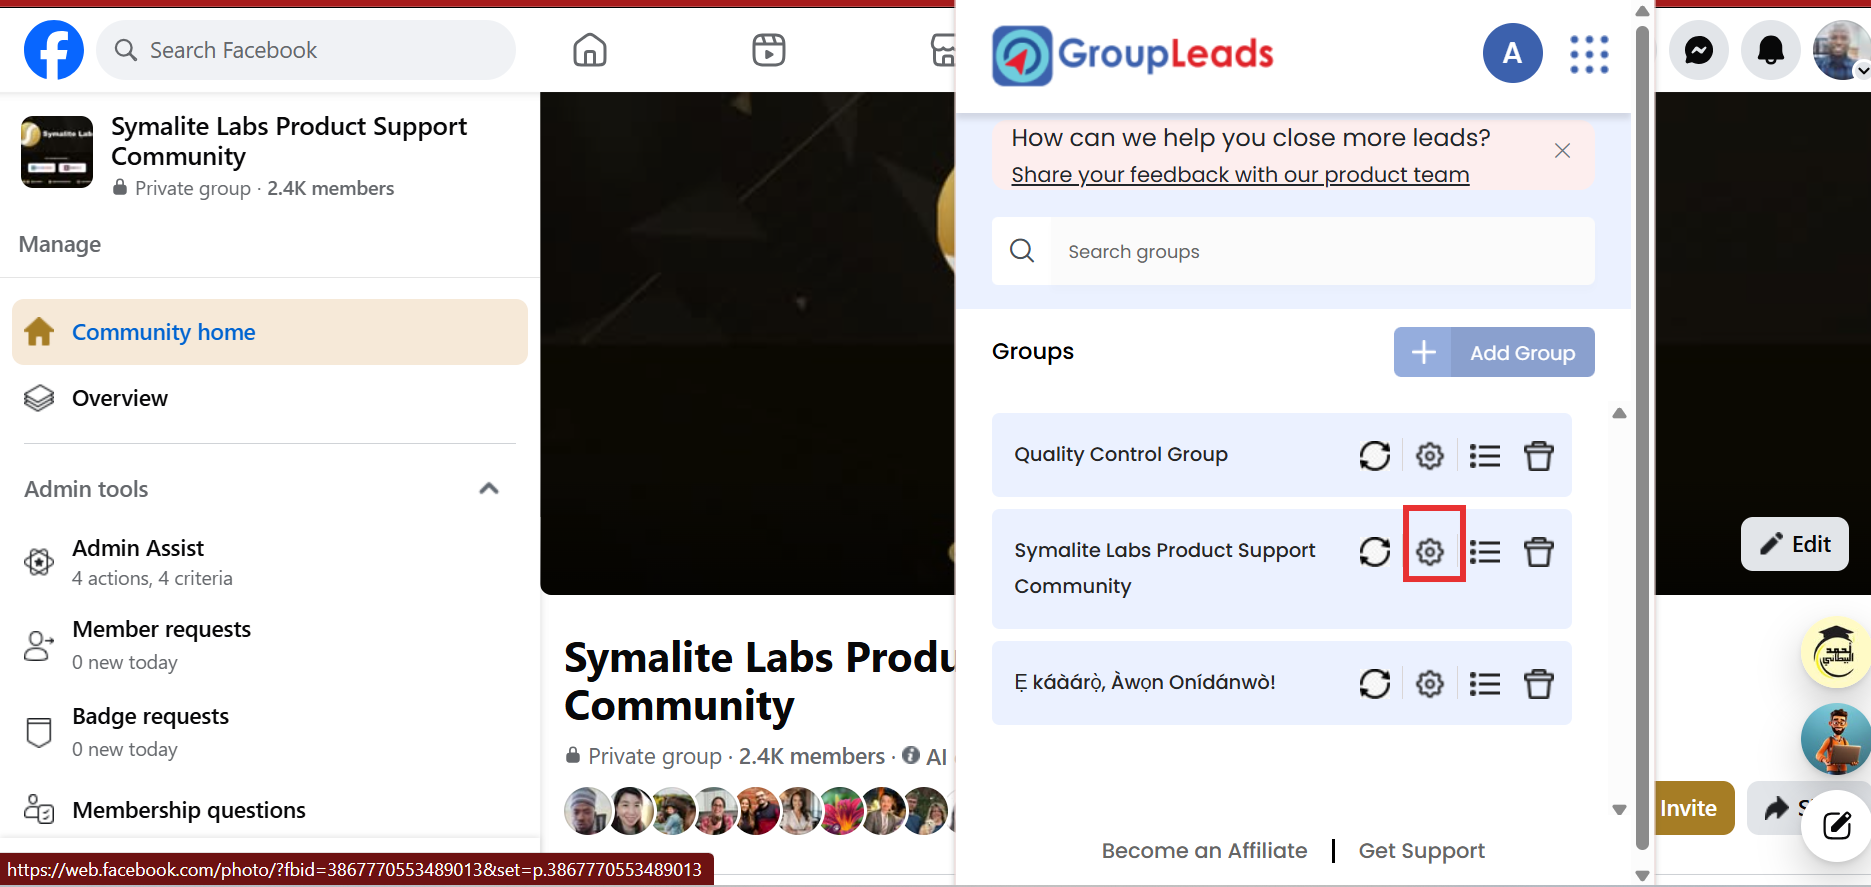
Head over to your browser and click the Group Leads icon in the top-right corner of your browser toolbar.
Inside the extension, locate the Facebook Group you want to collect emails from, then click the ⚙️ settings wheel icon next to that group.
Step 4: Select AWeber as Your Autoresponder
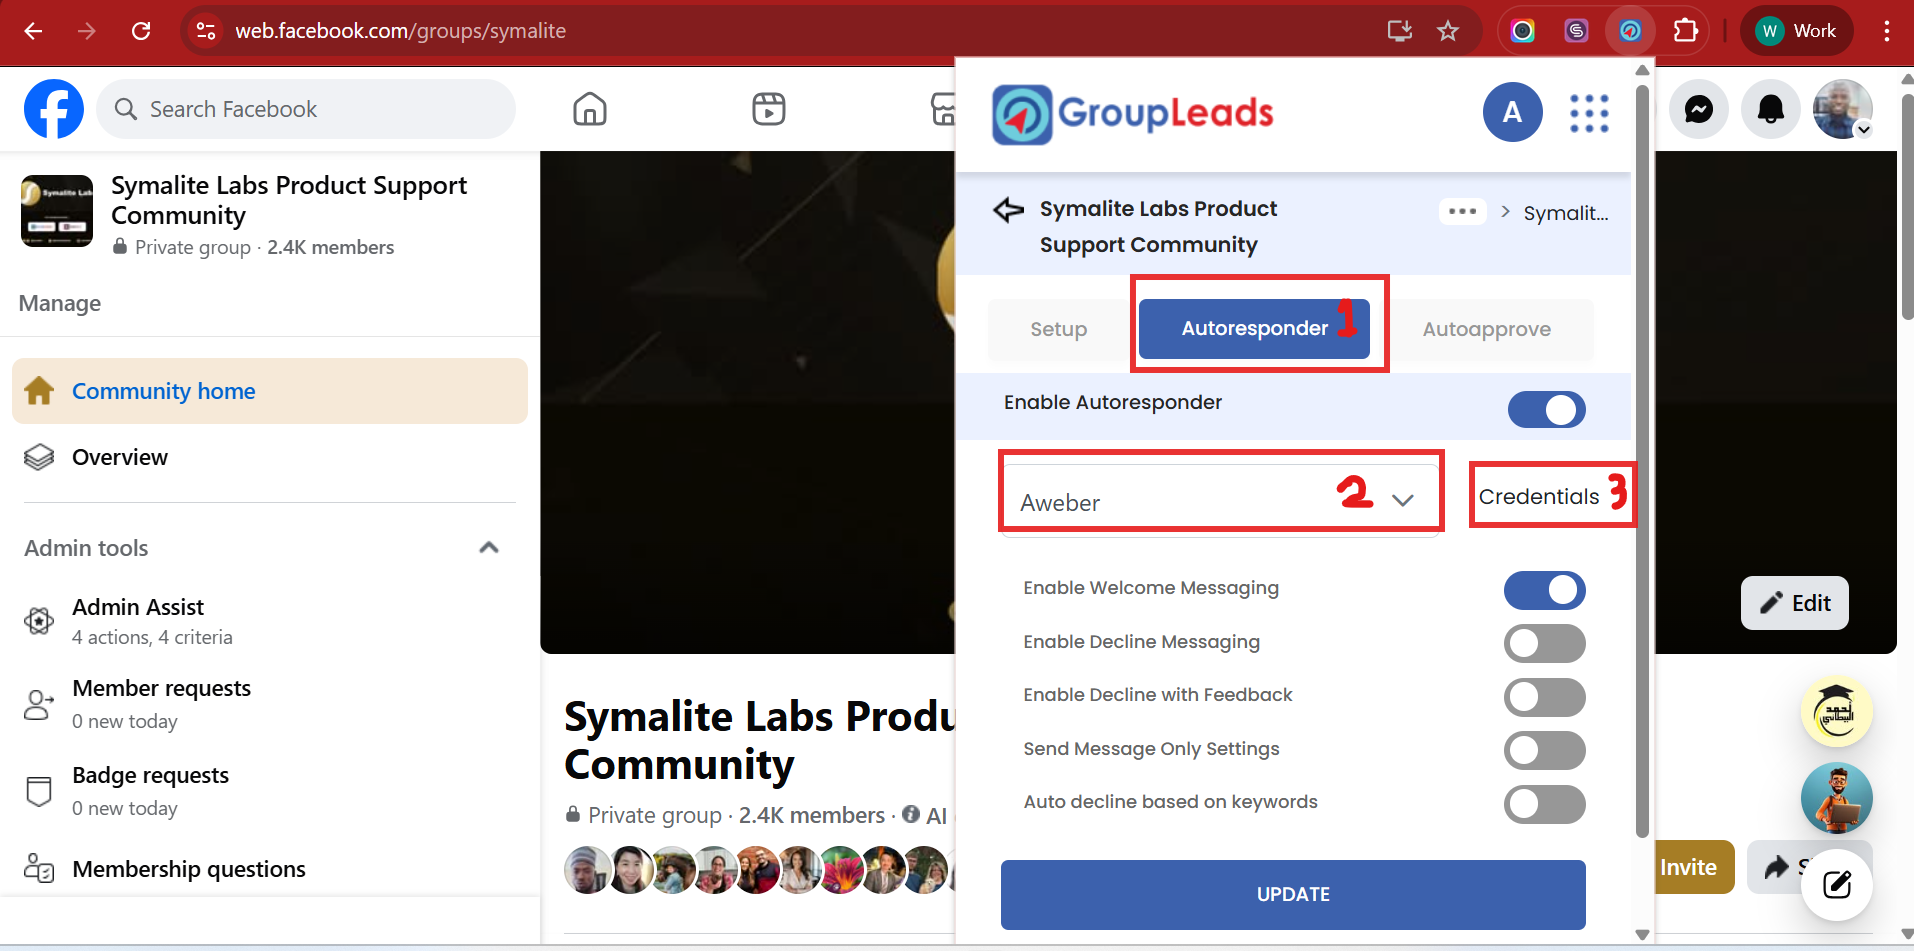
Within the group settings, click "Select Autoresponder" and choose AWeber from the dropdown list.
Enable the Autoresponder Switch
After selecting AWeber, click on "Credentials" to proceed.
Step 5: Enter Your List ID and Connect
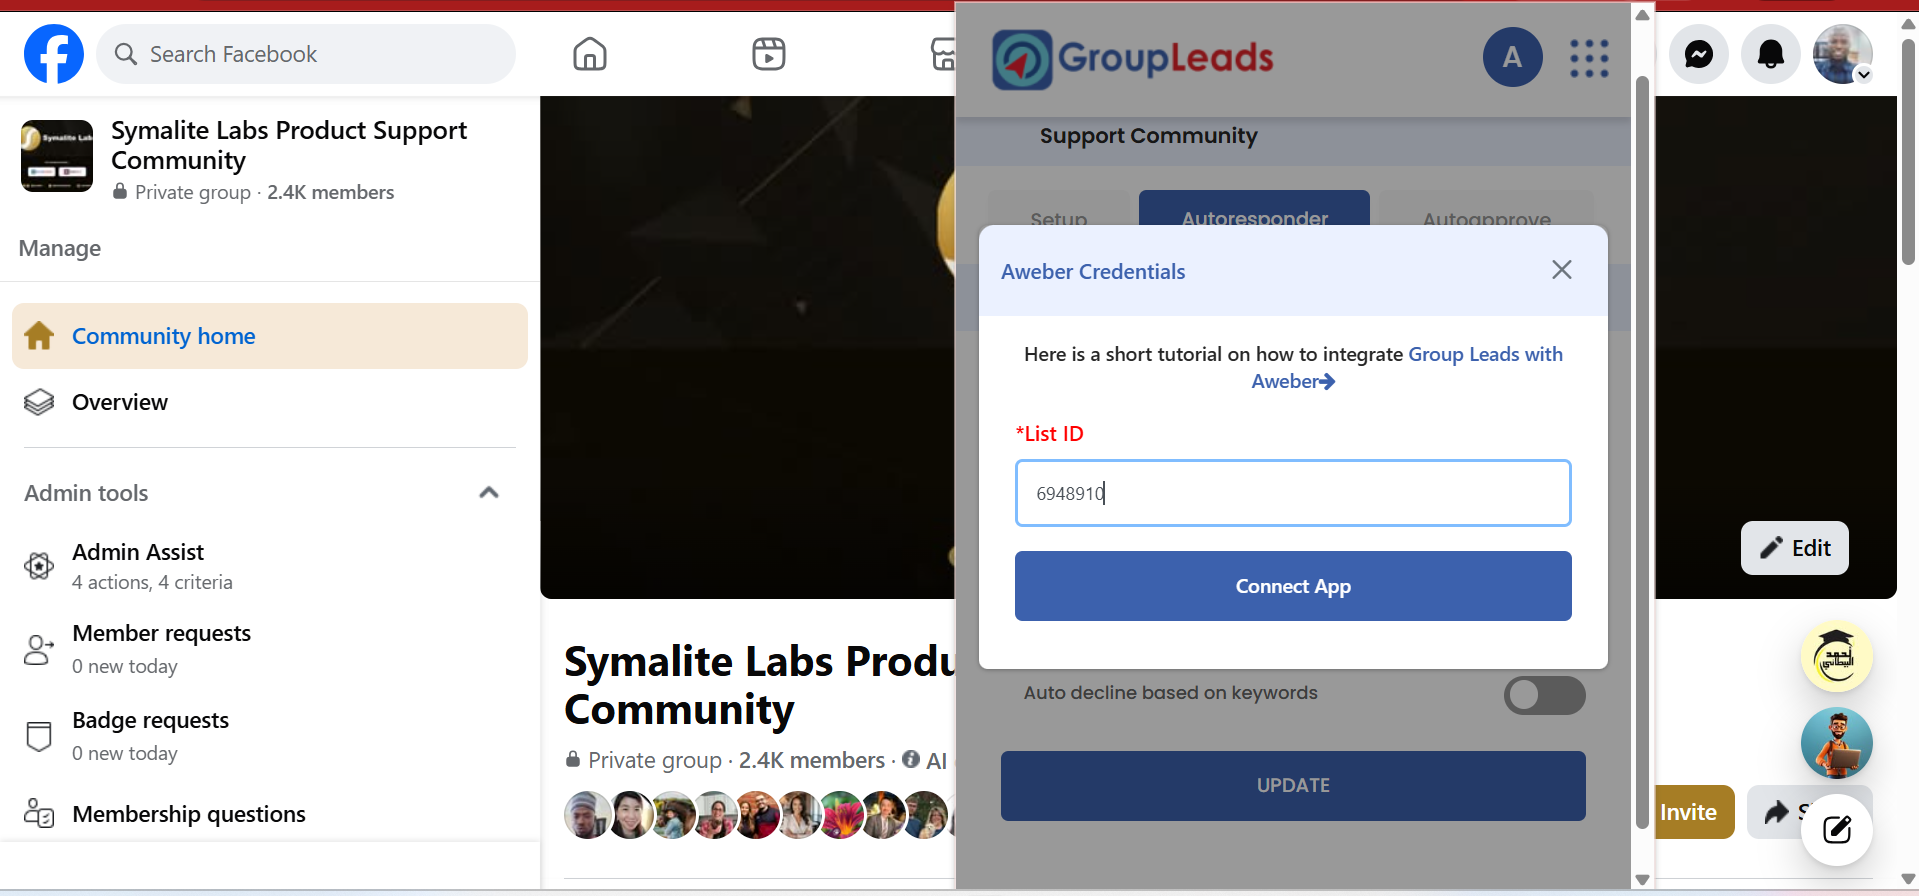
Paste the List ID you copied in Step 2 into the field provided in the Group Leads extension.
When you're ready, click the "Connect App" button.
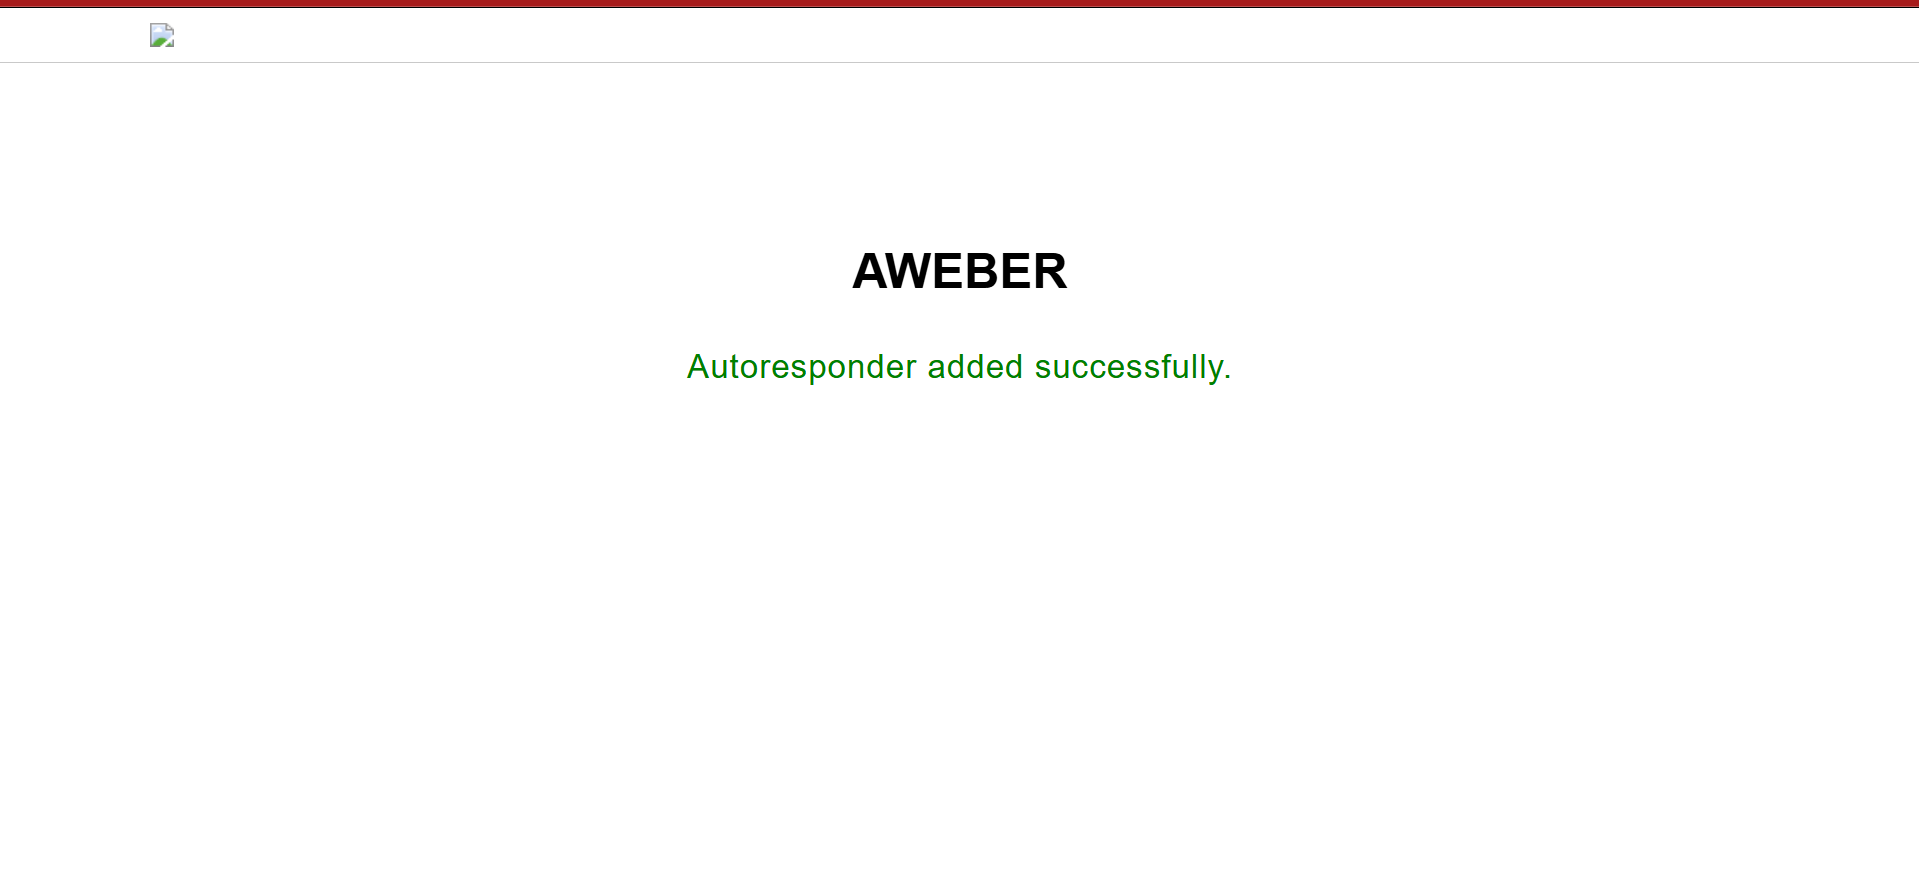
Step 6: Authenticate Your AWeber Account
A pop-up window will appear asking you to log into your AWeber account. Sign in with your AWeber credentials, then click "Allow Access" to grant Group Leads permission to connect.
If your List ID is correct, you'll see a success confirmation page — that means your integration is live! 🎉
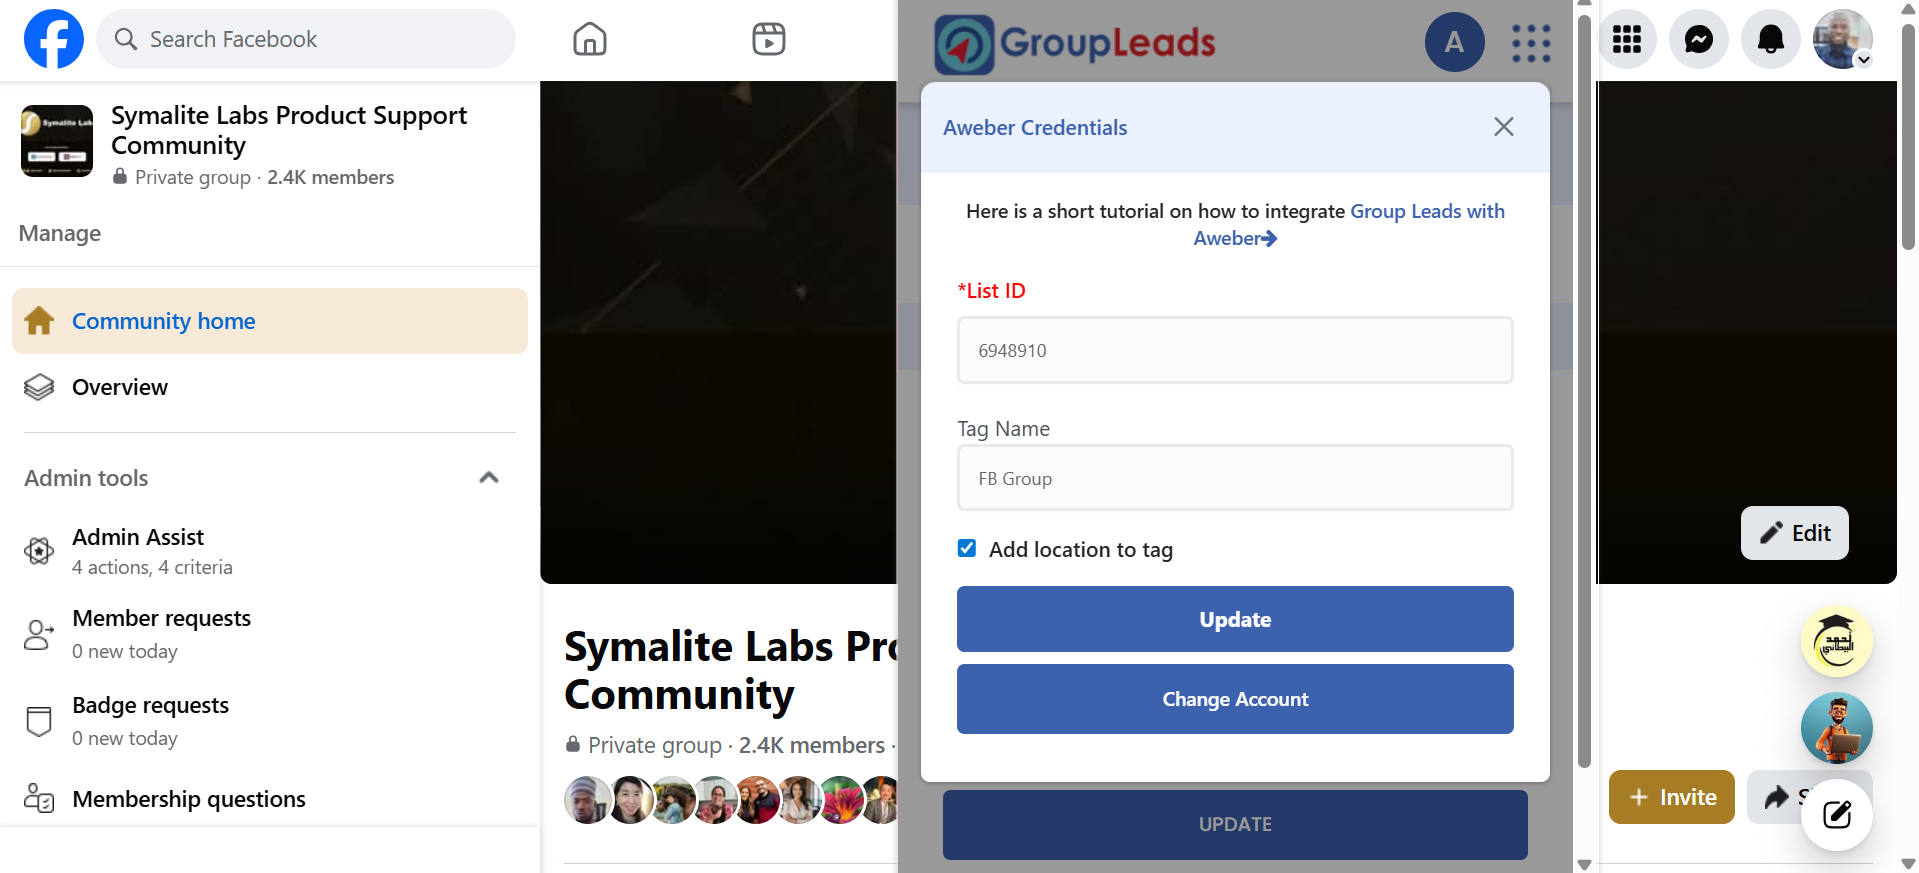
Step 7: Add Tags to Your Contacts (Optional)
Want to tag contacts when you approve them through Group Leads? Open the extension popup again, navigate to your group settings, and enter your desired tag name in the tag field.
Step 8: Tag Contacts by Facebook Location (Optional)
If you'd like to automatically tag contacts based on their Facebook location, enable the checkbox next to "Add Location" in the extension settings.
When you're done making changes, click the "Update" button to save.
✅ You're All Set!
Your Group Leads extension is now connected to AWeber. From this point on, any contacts you approve through your Facebook Group will be automatically added to your AWeber list — and tagged if you've set that up.
Need help? Reach out to the Group Leads support team or visit the Help Center for more guides.