How do I create Group Leads admin bio
Creating an Admin Bio helps brands and members learn more about you and the Facebook groups you manage. Follow the steps below to quickly set up and publish your admin bio in the Group Leads web app.
1. Log in to Your Group Leads Web App
Start by signing in to your Group Leads Web App account.
Once you are logged in, you will land on the Dashboard, where you can access all features and settings.

2. Open the Admin Bio Section
From the left sidebar menu on the dashboard, click “Admin Bio.”
This will open the Admin Bio page where you can create and manage your profile.

3. Fill in Your Basic Information
You will see a form where you can enter your personal details.
Start by filling in the following fields:
- Full Name
- Country
Make sure the information is accurate, as this will appear on your public bio.
4. Add a Short Description
In the Description field, write a brief introduction about yourself.
You can include:
- Your role as a group admin
- What your community is about
- How you contribute to the group
5. Choose a Unique Username
Next, select a unique username for your bio.
Your username should:
- Be easy to remember
- Clearly represent you or your brand
This username will be part of your bio link.
6. Add Your Achievements
You can highlight your noteworthy achievements to help brands understand your credibility.
Examples may include:
- Size of your Facebook groups
- Community impact
- Awards or recognitions

7. Connect Your Facebook Groups
A list of your Facebook groups will appear.

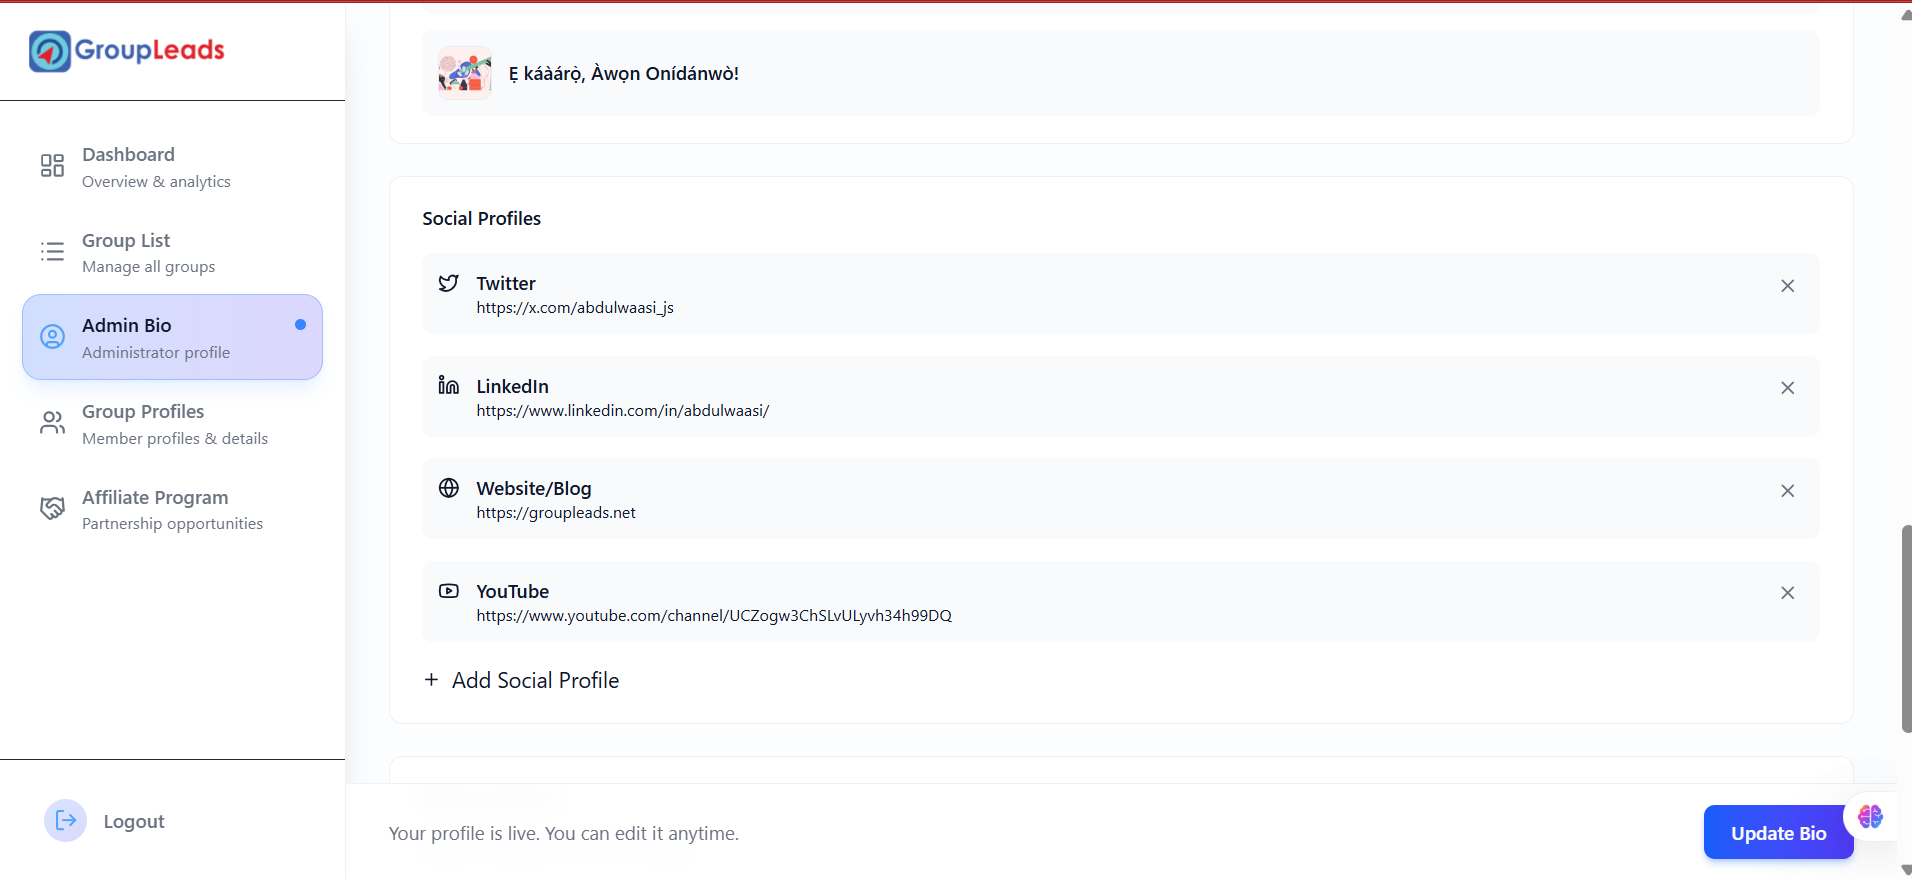
8. Add Your Social Media Links
Add links to your social media profiles so brands and members can learn more about you.
You can include platforms such as:
- Other relevant profiles
 9. Enable the Message Button
 9. Enable the Message Button
If you want brands to contact you directly, enable the messaging feature.
Simply toggle the “Message Button” switch to turn it ON.
This allows brands to send you messages from your bio page.
10. Upload Your Profile Picture
At the top section of the dashboard, upload your preferred image to use as your profile picture.
Choose a clear and professional photo that represents you well.
11.Update your Settings and Share Your Bio Link
Once everything is set up, click the "Update Bio" button at the bottom-right hand-side
Your admin bio will be live.
You can now copy your bio link and share it with brands or partners who want to collaborate with you.

Your Admin Bio is now ready. You can update it anytime from the Admin Bio section in your dashboard.