How do I create Group Leads Group Profile
Creating a Group Profile allows you to showcase your Facebook group, highlight its purpose, and share it with brands or potential collaborators. Follow the steps below to set up your group profile in just a few minutes.
1. Log in to Your Group Leads Web App
Start by signing in to your Group Leads Web App account.
After logging in, you will be directed to the Dashboard, where you can access all available features.

2. Open the Group Profiles Section
From the left sidebar menu on the dashboard, click “Group Profiles.”
This will take you to the page where you can create and manage profiles for your groups.

3. Select a Group and Start Creating the Profile
Find the group you want to create a profile for.
Then click the “Create Profile” button next to the selected group.

4. Add a Description for Your Group
Enter a short description that explains what your group is about.
You can include details such as:
- The main purpose of the group
- Your goals and objectives
- When the group was created
- Any notable milestones or achievements
This description helps visitors understand the value of your community.
5. Select the Group Category and Location
Next, choose the category that best describes your group.
You will also need to select the location where your group primarily operates.
This information helps brands and visitors better understand your audience.
6. Choose a Unique Username
Enter a unique username for your group profile.
This can be:
- The name of your group, or
- Something closely related to your brand or niche
Once you enter the username, click “Continue.”

7. Add Topics Your Group Discusses
On the next page, add the topics your group focuses on.
Type a topic and separate each one with a comma before adding the next topic.You can add up to five topics.
When you finish adding the topics, click “Continue.”

8. Upload Screenshots from Your Group
Upload screenshots that show engaging conversations or activities happening in your group.
Choose screenshots that best represent the value and community interaction within the group.
After uploading the screenshots, click “Continue.”

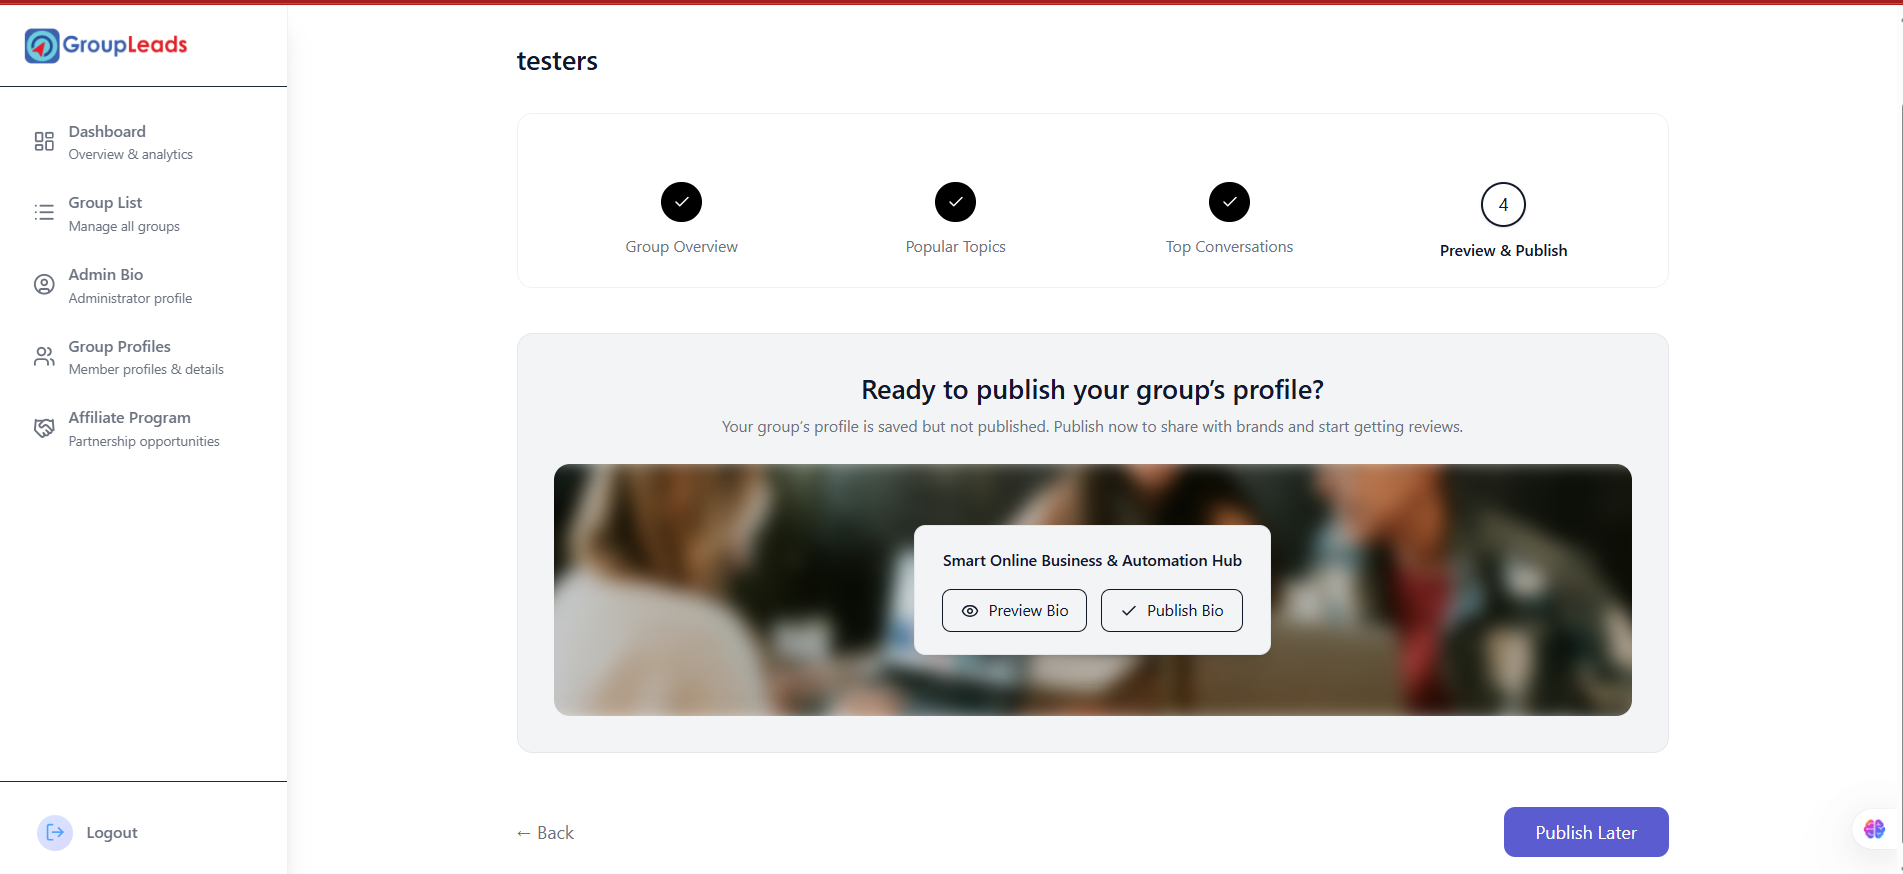
9. Preview or Publish Your Group Profile
At this stage, you can review your profile before making it public.
You have three options:
- Preview your group profile
- Publish it immediately
- Publish later if you want to complete it at another time
 10. Copy and Share Your Group Profile Link
 10. Copy and Share Your Group Profile Link
Once your profile is published, you will receive a Group Profile link.
You can:
- Copy the link to share with brands
- Share directly to Facebook or other social media platforms
Your Group Profile is now ready. You can update or edit it anytime from the Group Profiles section in your dashboard.