
How to Disable the CRM for a Specific Facebook Group in GroupLeads
Follow these simple steps to disable the CRM features for a specific Facebook group managed within GroupLeads.
Step 1: Open the GroupLeads Extension
- Click on the GroupLeads icon located in the top-right corner of your web browser (or Chrome extension toolbar).
Step 2: Select Your Facebook Group
- Locate the specific Facebook group in your group list for which you want to disable the autoresponder.
- Click on the Gear icon (⚙️) in front of the group name to open its group settings panel.

- Click on the CRM tab within the group settings menu.
- Toggle the switch to the left (OFF position) to disable CRM automation for this group.
- Click the Update button at the bottom of the tab to save your changes.
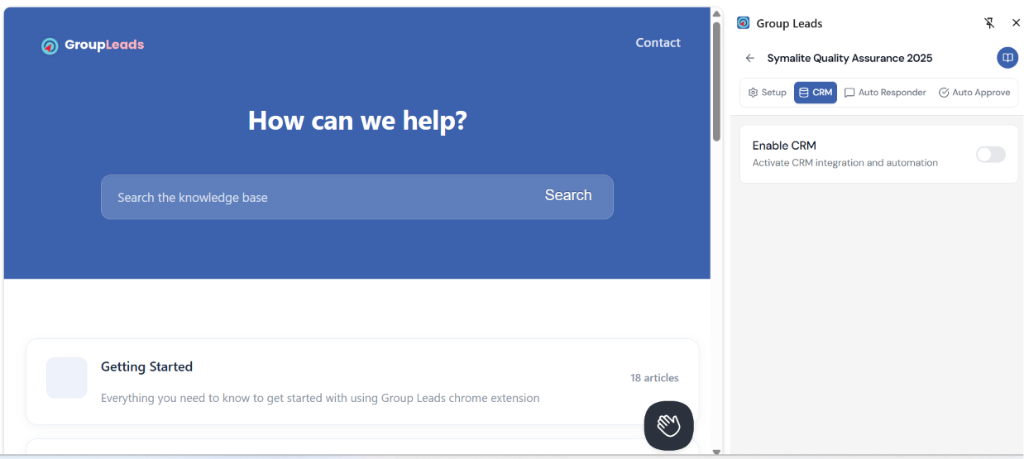
✅ 🎉 Congratulations! You have successfully disabled the autoresponder for the selected Facebook group in GroupLeads.
Related Articles
- How to Disable Group Leads Autoresponder Globally
- How to Install and Set Up the GroupLeads Chrome Extension
- How to Add a Facebook Group to GroupLeads
Follow these simple steps to disable the autoresponder for a specific Facebook group in Group Leads:
- Open Group Leads Extension
- Click on the Group Leads icon located at the top-right corner of your web browser.
- Select the Facebook Group
- Locate the specific Facebook group for which you want to disable the autoresponder.
- Click on the gear icon in front of the group.

- Disable Autoresponder
- Click on the Autoresponder tab.
- Toggle the switch to the left to disable the autoresponder.
- Click the Update button


Confirmation
Congratulations! You have successfully disabled the autoresponder for the selected Facebook group in Group Leads.